



We are happy to announce that almost after one year darktable 1.6 has just been released.
The release notes and relevant downloads can be found attached to this git tag:
https://github.com/darktable-org/darktable/releases/tag/release-1.6.0
Please only use our provided packages (green buttons tar.xz and dmg) not the auto-created tarballs from github (grey buttons, zip and tar.gz). The latter are just git snapshots and will not work! Here’s the direct link to tar.xz:
https://github.com/darktable-org/darktable/releases/download/release-1.6.0/darktable-1.6.0.tar.xz
Dear all,
as we want to release darktable 1.6 some time at the end of the year, it now is the time to announce the string freeze. Please don’t change any UI strings any more, so translators have a chance to catch up.
Translators: your updates should be committed to the master branch, there is no branch-off for a stable 1.6 version yet.
We should have the first release candidate packed up soon!
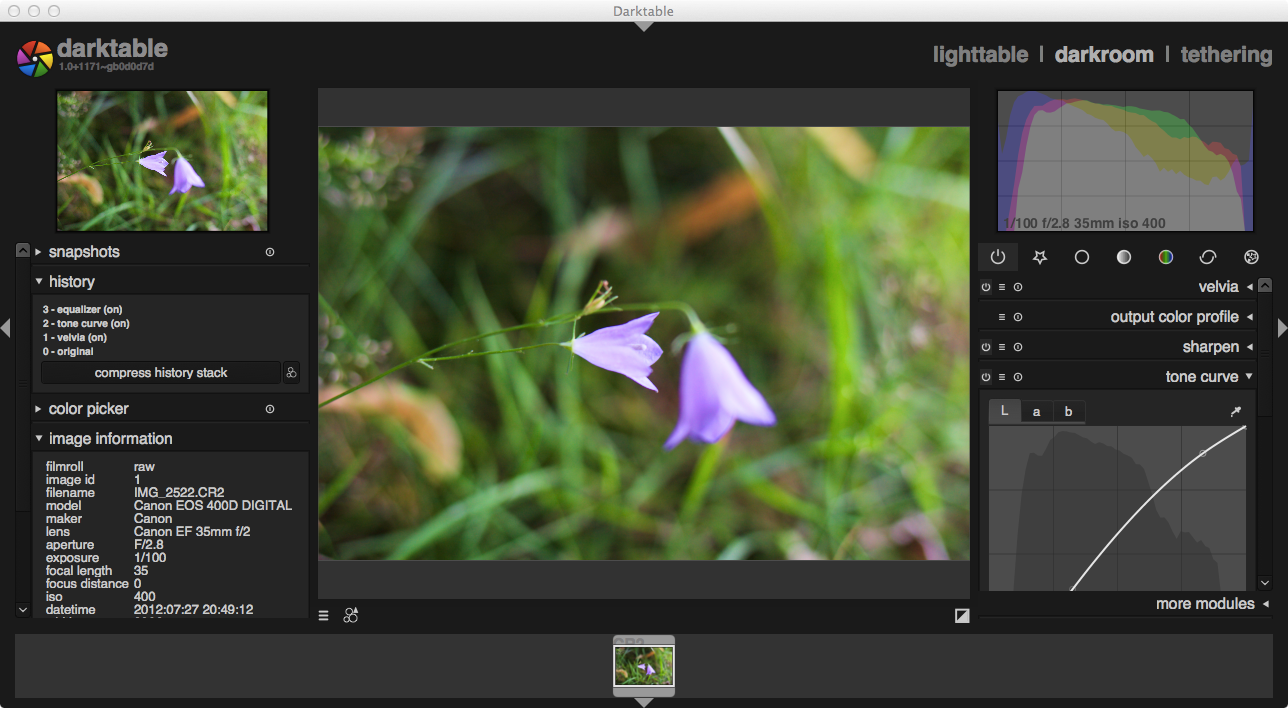
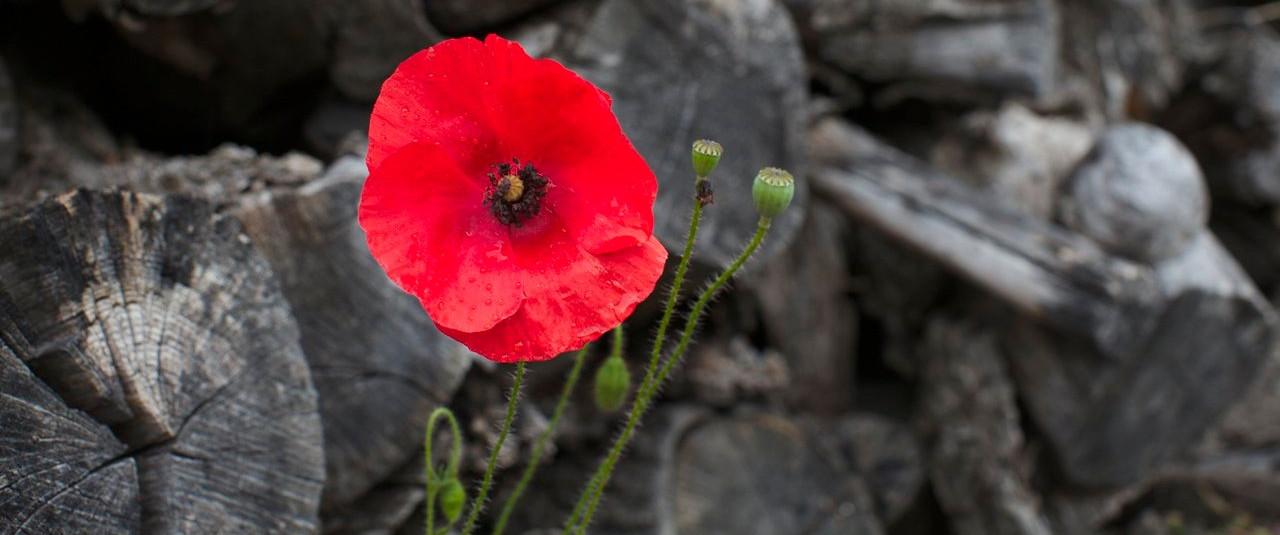
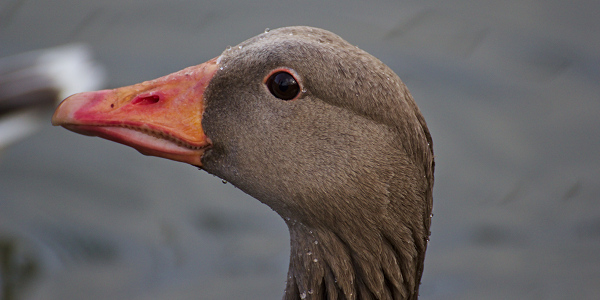
**Update: **the git repository officially resides in github now.
Today we are moving our git repo from sf.net to github, as it was agreed in the developer meeting that took place yesterday. This will happen today 22:00 – 23:00 CEST
What should I do now?
Depends on the role you play in the project.
What is going to happen just before the switch?

Pascal de Bruijn did some good work backporting some of the progress from git master to the 1.0 release. We packed that into a tarball, here it is:
https://sourceforge.net/projects/darktable/files/darktable/1.0/darktable-1.0.1.tar.gz/download
https://sourceforge.net/projects/darktable/files/darktable/1.0/darktable-1.0.3.tar.gz/download
(We had a problem packaging sources, so 1.0.3 is now on air. Please use it instead of 1.0.1)
As usual we have Ubuntu Packages are readily available on Pascal’s PPA, for Lucid, Natty, Oneiric and Precise:
https://launchpad.net/~pmjdebruijn/+archive/darktable-release
https://launchpad.net/~pmjdebruijn/+archive/darktable-release-plus
And these are the major changes:

It is done, 1.0 is out. I sent out most of the new features with the announcement for 1.0rc2 a few weeks ago already, but for completeness, here it is again:
Also, a couple of caveats to keep in mind this time:

Our second release candidate is out! We have had a couple of tiny bugfixes, better translations, new rawspeed (brings support for the new Canon 5D Mark3), and slight consistency fixes in the GUI since rc1.
You can get the tarball from here:
https://sourceforge.net/projects/darktable/files/darktable/1.0/darktable-1.0~rc2.tar.gz/download
Getting closer!
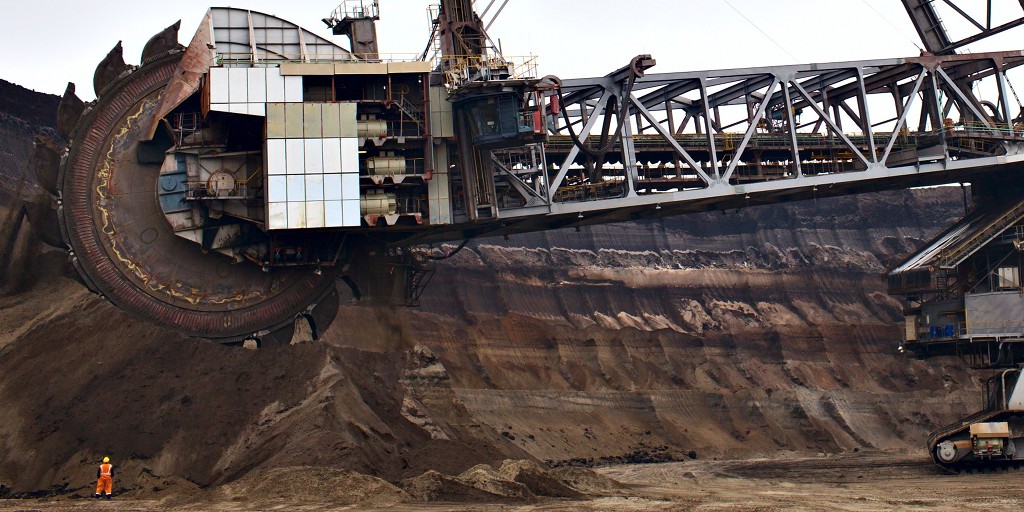
Diligent readers of our small blog series are already aware of the blending feature that darktable offers as part of many modules. Instead of just handing over their result to the subsequent module in pixelpipe, “blending modules” take a moment to reconsider. Based on the blend setting they will take their original output together with their input and do a re-processing. As an example refer to here, where we took blend mode “overlay” with module “lowpass” to do shadow recovery.
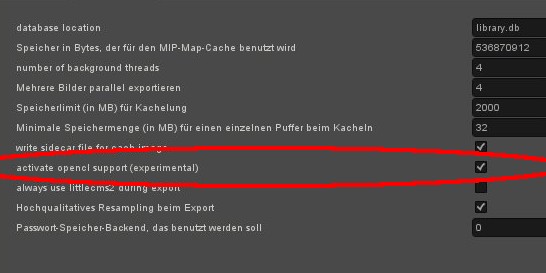
Many readers will have already heard about GPU processing and the fact that darktable can make use of OpenCL to improve performance. As we still lack a detailed documentation of that topic, please find here a few explanations and howtos.
Processing high resolution images belongs to the more demanding tasks in modern computing. Both, in terms of memory requirements and in terms of CPU power, getting the best out of a typical 15, 20 or 25 Megapixel image can quickly bring your computer to its limits.
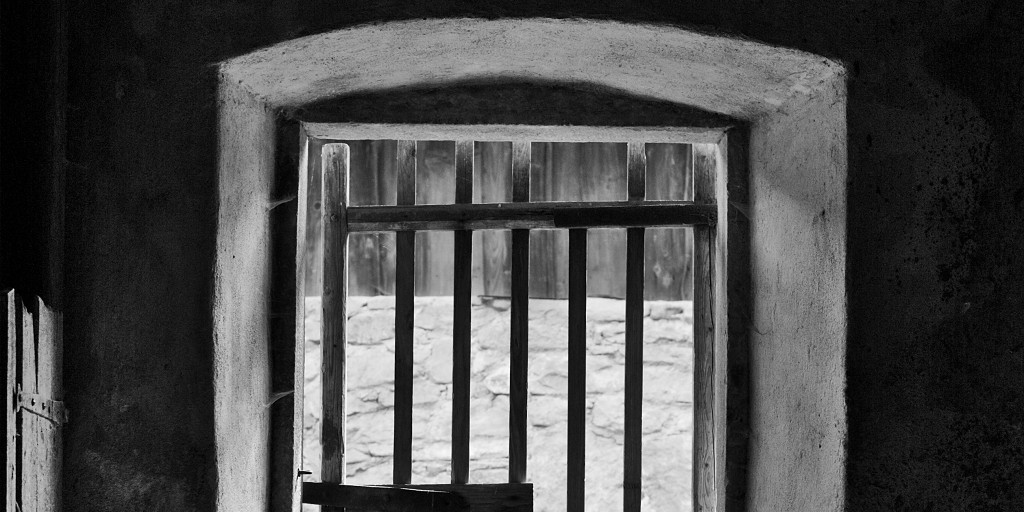
One of the remaining shortcomings of digital cameras is their rather low dynamic range in comparison to analog – especially black-and-white – film. Scenes with strong differences between highlights and shadows are very difficult to capture. Even if they are exposed properly with no blown-out highlights they will too often only give acceptable results after extensive post-processing.
Fortunately, darktable is progressing with a high pace. Some days ago I wrote an article on how to recover shadows with a technique using lowpass filter plus blend mode (" Using lowpass filter to recover shadows "). In between a new, even better module called “shadows and highlights” was integrated into darktable, that obsoletes this technique.
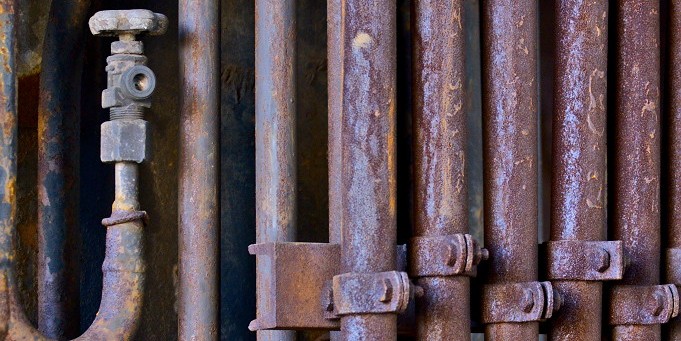
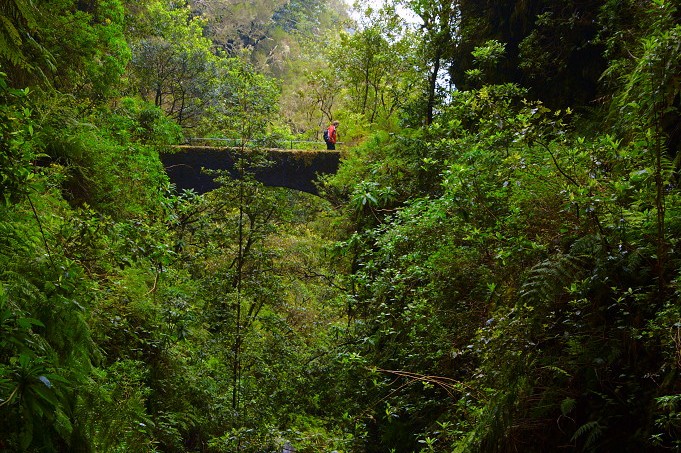
Since its early beginnings darktable has a tone curve module that is able to alter the gray level distribution of an image. Recently we did an enhancement: tone curve is now able to control the full Lab color space with separate curves for the L, a and b channel. People who are used to curve tools in RGB, at first might get puzzled over the results of these three curves; they show marked differences to the typical RGB curve. Especially a and b channels need to be dealt with in the right way; not doing so will give you strong off-colors. To spare you frustration here are some explanations and examples.
Stefano Fornari has just released a new version of the book Digital photo development with darktable.
Version 1.1.1 is a maintenance update. The release fixes a number of typos and other small editorial changes suggested by the community.
Check out the pdf or packaged version and, as usual, send your comments and feedback to the darktable user list.
As most of you probably noticed by now, we released 0.9.3. The tar file can be found here: https://sourceforge.net/projects/darktable/files/darktable/0.9/darktable-0.9.3.tar.gz/download
Pascal updated his ppa for ubuntu here: https://launchpad.net/~pmjdebruijn/+archive/darktable-release or https://launchpad.net/~pmjdebruijn/+archive/darktable-release-plus (with Exiv2 0.22, and Lensfun 0.2.5 + lens data from svn).
and made great new screencasts explaining a couple of features and differences to 0.9.2. You can find them on our resources page or Pascal’s website
It is a comparatively minor update to our stable 0.9.x series. It does not contain many very cool new features and big changes we have in git, because we don’t consider them stable enough yet. Nontheless, it contains 272 commits over the previous release 0.9.2, mainly containing:
different kind of saturation

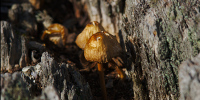
there are many different ways of tuning saturation, darktable does offer a few alternative ways to alter saturation and the reason for this post is to clarify what they do and how they work. the image on left is the original untouched image used for the different examples below, use it as a reference for comparing the results of the different kind of saturation described below, the resulting effects is exaggerated to make it easier to spot the differences.
